
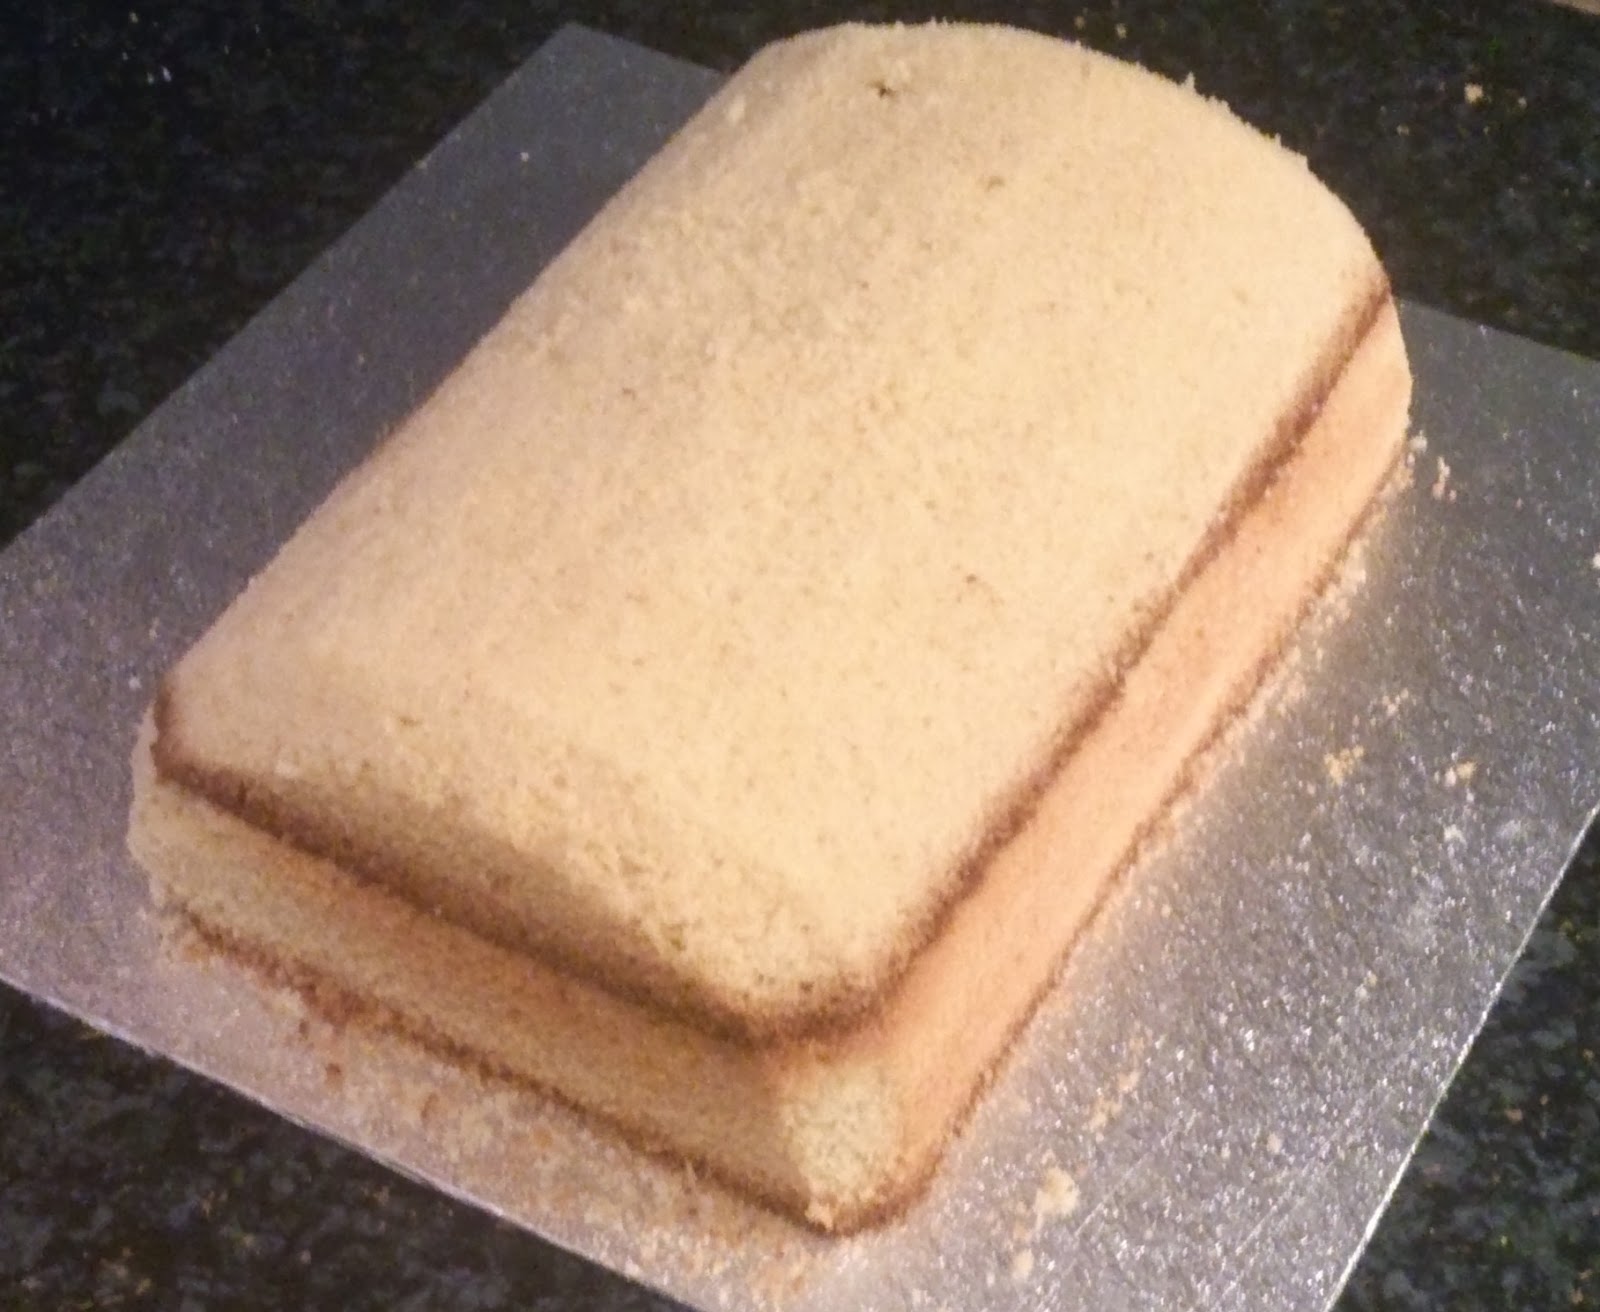
We started by baking two 12"x 8" cakes. Once they had been left to cool, we stacked them and carved them into the shape of the can. Once we had the basic shape of the can, we then carved the top and bottom curve at an angle to create a more realistic shape.

We then covered the cake with butter cream and then started rolling out the blue fondant and preparing the rest of the letters we needed for the cake.

To make the letters for the can, we cut out the side of a box and scanned it through the printer. We then printed the letters using the edible printer, which printed the letters onto edible wafer paper.

(NOTE: If you do not have an edible printer, another method you could use is to pin the letters on to the cake and then pipe on to the cake following the lines. We did another one of these cakes before we bought the edible printer and piped the letters on. Even though the edible printer was easier and quicker, the piping still worked just as well and the customer was very happy.)

Once we had the letters prepared and we had rolled out the fondant, we covered the cake. We then smoothed the edges and sides before starting to decorate.

The first bit of decoration was the silver tin parts of the can (the top and bottom of the can). To make these parts, we rolled out light grey fondant, which was white fondant mixed with a small amount of black and then cut around a plate. We then cut the circle in half and stuck the semi-circle to the side of the cake using water. We then cut off the excess fondant and straightened the edges.

We then took our printed parts, that we had prepared earlier and stuck them to the cake. This time we used white piping icing to stick the wafer paper to the fondant. This is because water will soak through the wafer paper and the colour will run. Alternatively, you could buy fondant icing sheets instead of wafer paper.


The final part was making the pull ring for the can. We made this by creating a thin rectangle and cutting out a circle and a square. Once we had done this we cut the rectangle in half and stuck one half to the top of the cake using water.

We then added a message and the cake was finished.

No comments:
Post a Comment